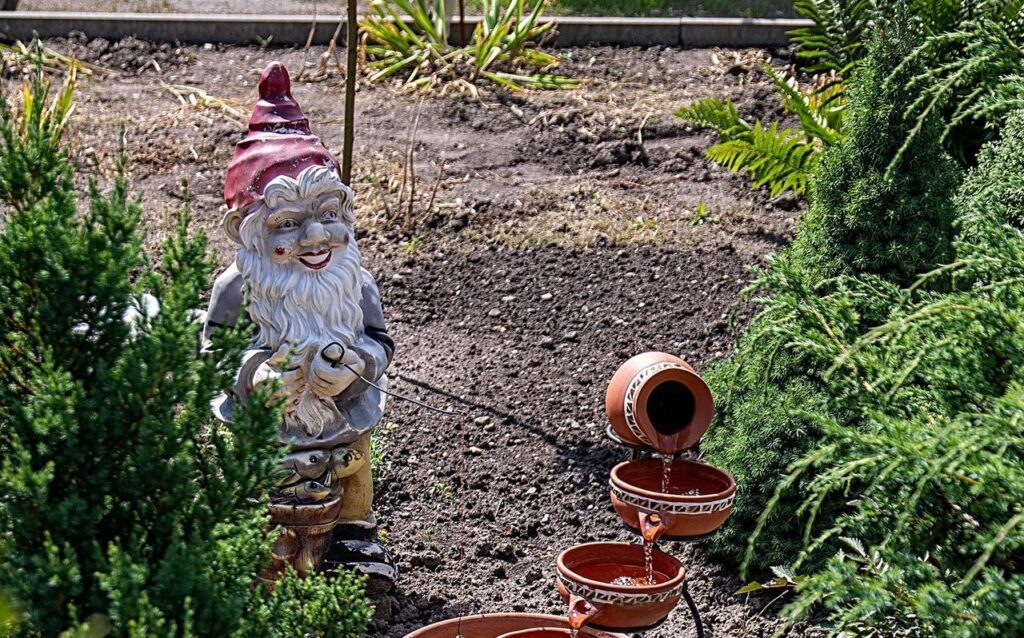
In 2001, the famous feature film by Jean-Pierre Jeunet « The Fabulous Destiny of Amélie Poulain » brought « the garden gnome » back into fashion. Although cute, these decorative statuettes are above all fragile and can crack or break at any time. If your garden gnome is cracked or broken, now is the time to fix it. Let’s get started.
Summary
Repair his broken garden gnome: the tools you need
Today as in the past, these charming gnomes constitute an original ornamental motif to embellish your garden. And just as it is necessary to take care of your garden, it is also important to take care of your garden gnomes and not leave them broken or broken.
In the event of a crack or break, the appropriate tools for a successful repair of your garden gnome are as follows:
- A waterproof glue
- A wire brush
- A flexible and fine thread
- Resin epoxy glue
- Waterproof silicone caulking
Repairing his garden gnome: the instructions to follow
Here are the steps you can take to resurrect your garden gnome in a very short time and allow it to continue to enhance the decoration of your garden.
Step 1: clean the various broken pieces
Begin by vigorously brushing the broken areas to clear them of debris. Then, it is recommended to wash the statue well, especially mud, mold and any dirt accumulated over time. All you need is dish soap and hot water. At the end, rinse the parts of the gnome and dry them.
Step 2: glue the broken pieces
Before gluing the pieces of your garden gnome, make sure they are completely dry. Then apply the waterproof glue to each piece to be joined. You can use adjustable clamps to hold the different pieces to be assembled in their original shape. The parts must be put in place coherently and reassembled as they were originally.
In the case of a crack on a terracotta gnome, first turn the gnome upside down and locate the inner part of the crack. Instead, apply epoxy resin glue to the internal crack, then silicone caulk on the outside. Using a caulking spatula or a simple toothpick, work the caulk into the crack. Epoxy glue can also work well for regluing a broken ceramic garden gnome.
Step 3: let the glue dry and test the joints
After gluing the broken pieces of your statuette, let the glue dry well. It must be left to dry for 24 hours after repair, then gently move the joints to test if they are well fixed. You can leave your garden gnome indoors for an additional 24 hours before weatherproofing it. For a broken terracotta garden gnome, after applying the glue, tie the wire around the crack area and let the statuette sit for 48 hours.
Moreover, in the event of a simple crack on your garden gnome, no need to follow the steps above. It is a question at this level of using your silicone caulking to erase the cracks. To do this, spread the crack and apply a thin layer of caulking, then press the two parts of the crack. Wrap the thin wire around the gnome, to hold the repaired section.
Repairing a broken or cracked garden gnome isn’t that complicated after all. These few tips will allow you to repair your statuettes yourself and easily.