L’rip-rap is an effective solution to overcome the problems of uneven ground in order to facilitate the development of an outdoor space. More economical than the construction of a retaining wall, this technique has several technical and aesthetic advantages. However, before starting a riprap, it is important to have a good understanding of a certain number of parameters. In this guide, our experts therefore explain clearly what this process consists of and the rules to follow. We will also discuss the options available to you, as well as the budget to be expected.
Summary
What is riprap?
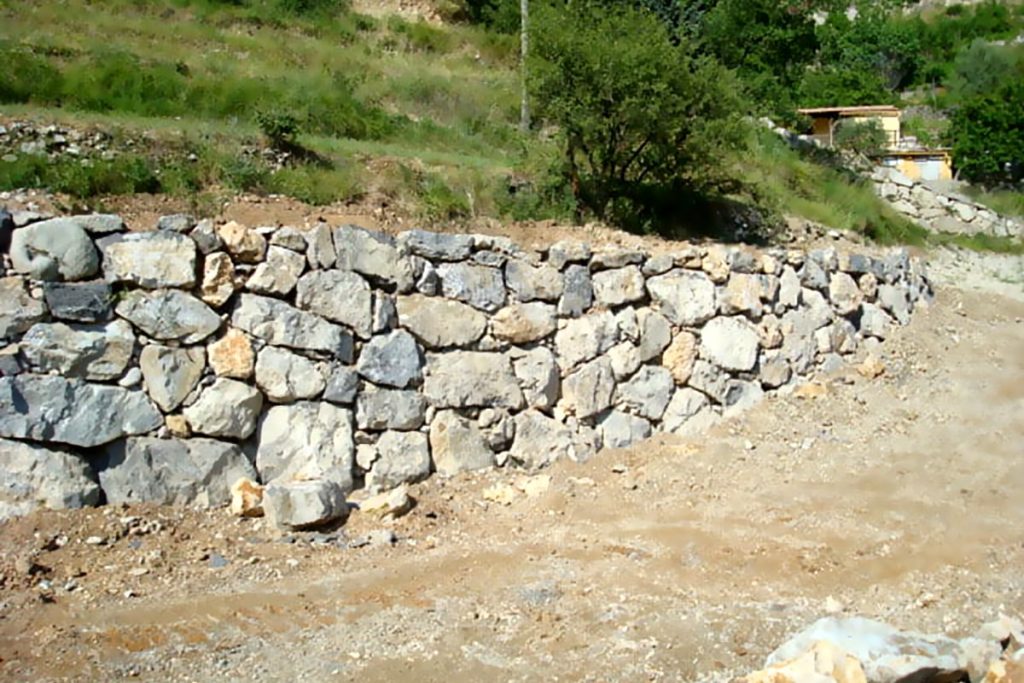
Rip-rap is a process that involves piling up blocks of natural rock so as to counter the thrust of a terrain. This type of work is generally carried out to protect a dwelling against landslides and against erosion. But it can also be undertaken for purely aesthetic reasons.
Depending on the case, we can thus distinguish:
The support rip-rap
Still called rip-rap, it generally takes the form of a mini wall of stones whose role is to hold the earth on a piece of land. This type of riprap is particularly suitable for mountainous areas and those subject to runoff. It is also an adequate solution for securing a home located near a steep slope, a dike or a bank.
For the realization of riprap retaining, pink sandstone rocks and gray granite are the most frequently used.
Landscape riprap
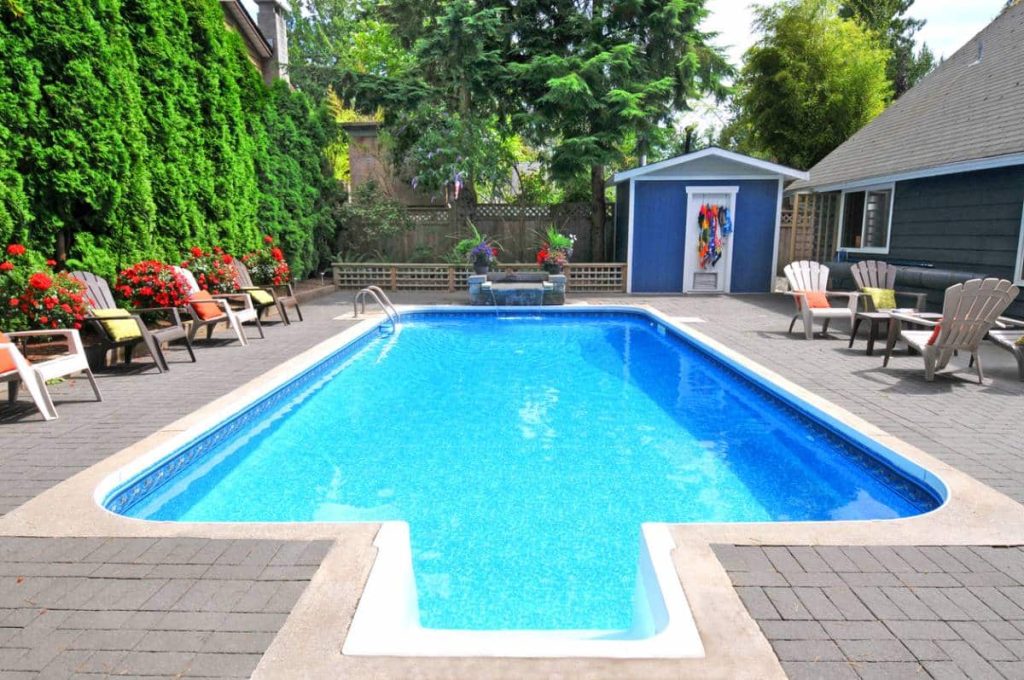
Here, we bring together stones of various shapes and sizes to create an effect of volume. Realized mainly for aesthetic purposes, the landscaped rip-rap allows in particular to revitalize a garden. It can also be used to create planting spaces or to delimit a circulation space. This type of riprap is also more and more common around swimming pools. Well done, it makes it possible to obtain a rendering evoking the traditional basins of Ancient Rome.
For a landscaped riprap, decorative rocks are used. The most common are black shale, yellow or white limestone, and slate rockery boulders.

What regulations must be observed in the context of riprap?
The rip-rap works of embankments must normally be subject to prior declaration to the town hall. The local authorities reserve the right to prohibit or regulate riprap according to the rules listed in the PLU (Local Urban Planning Plan). In some regions, it is also important to take into account the rules of joint ownership and the public security provisions in force.
Before starting your riprap project, check with the authorities to find out what is possible and what is not. For example, obtaining a building permit is sometimes necessary beyond a certain surface or a given height.
How to make a riprap on an embankment yourself?
Above all, it is important to keep in mind that rip-rap is a demanding project. Indeed, its realization requires compliance with a certain number of technical constraints. This is particularly the case if your land is located in a dangerous area or on a slope leading to a passage area, for example. In these cases, it is best to call a professional, for your safety and that of your neighbors. You should know that you will be legally held responsible for physical or material damage caused by any defects in the project.
In addition, in the context of a landscape riprap, the support of a landscape architect and a landscape mason is very useful. Their skills will allow you to achieve a suitable and lasting aesthetic result.
That being said, if you choose to do your riprap yourself, here are the different steps to follow:
Preparing the riprap
Like any development or construction project, riprap begins with a good ground preparation. So choose the ideal location, and have the rocks delivered as close as possible. To prevent weeds from growing between the stones later, lay a geotextile film on your embankment.
Then, using a shovel, dig a trench which will allow you to lay the foundations of the riprap. For this purpose, a width corresponding to that of the rocks and a depth of between 20 and 30 cm is recommended. Fill the bottom of this trench with small stones and gravel. This will allow stabilize the structure of your riprap.
Laying the first row of rocks
The rocks used for the first row should be chosen with great care. They must have a very flat surface in order to rest on top of each other, while remaining well anchored in the trench. After their installation, therefore, make sure that they do not move. Always to stabilize the structure as much as possible, fill the holes between the rocks with small stones. Also place a few to wedge the rocks.
Laying the other rows
Once the first row has stabilized, you can lay the other rows of stone up to the desired height. You have the option of using calibrated stones or uncalibrated stones. In the second case, the work will be longer, because the uncalibrated stones are more difficult to dispose.
But whatever option you choose, stick to the following guidelines to get a good result:
- Select rocks that fit together naturally. If the spacing between two large stones is too great, the riprap cannot be set up correctly;
- Choose only rocks with a flat top surface. This will allow you to easily lay them on top of each other;
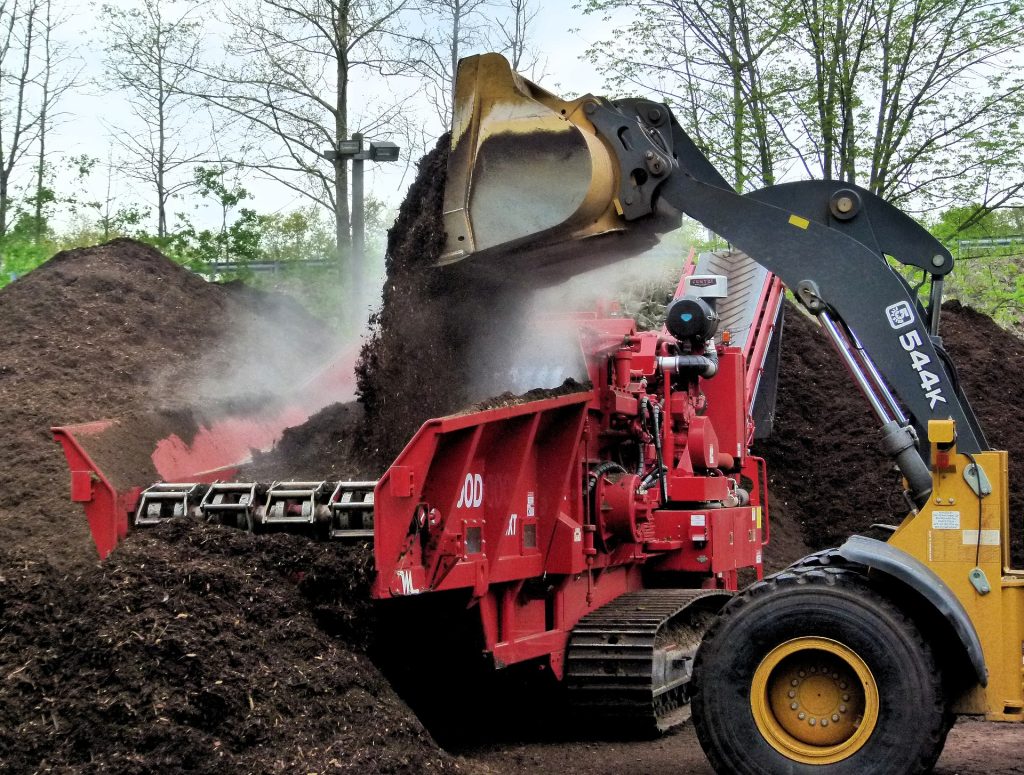
- Position each rock in the right direction before placing it on top of another. Once you put it down, it will be difficult for you to handle it without moving the others below. So place the rock in the direction you want before grabbing it with your mechanical shovel. If a new operation is still necessary, do it by opening or closing only the bucket of the backhoe. This will prevent movements at the level of the structure;
- Each time you lay a row, make sure that it is perfectly stable before laying another. Otherwise, the whole structure risks collapsing;
- If the slope of your land is too steep, respect an offset in the rows while following its direction;
- To solidify your riprap, cross the joints between each row by observing a shift of one row. Note that it is strongly recommended not to make cement joints. They risk preventing the natural flow of rainwater.

How much does a riprap on an embankment cost?
If one is based on a crossing of the prices practiced by the professionals, the average budget for traditional rockfill works varies. between 90 and 250 € per m2. This price may vary depending on the following elements:
- The type of riprap chosen;
- The rocks used: the rock prices is generally understood between 35 and 50 euros per tonne. It all depends on the type, size and quality;
- The surface of the work: it can in particular influence the price of the geotextile to be installed;
- The rental or purchase of machinery such as a mini excavator, a backhoe loader or a grapple;
- Natural elements like decorative plants, flowers and others.
It should be remembered once again that the rip-rap works on an embankment require a certain dexterity. To be sure of obtaining a good result, do not hesitate to seek the services or support of professionals.
Read also: 5 tips for your outdoor layout


